Slow Light

Some years ago I spent a lot of money on a very beautiful zero image pinhole camera. I think it was medium format and oozed quality. Anyway, to cut a very sad story short my January tax demand came in and I ended up selling the camera straight away to help pay the bill.

Over the past few years I’ve really enjoyed looking at pinhole work made by some expert practitioners on various film formats. Recently having spent some more time looking into the numerous cameras available, and given thought to the kind of work I’d like to make I decided to purchase a 5×4 pinhole. It made sense, I already have the dark slides – lots of them and the Jobo dev tanks for bulk processing.

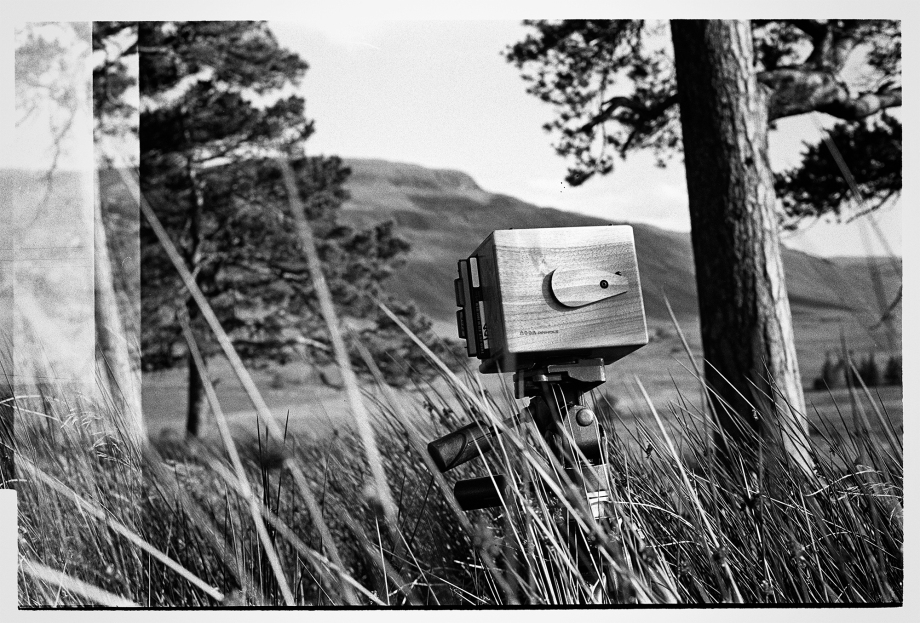
noon camera

I purchased the Noon 45W camera – imported from Poland and made of Walnut wood. It can accommodate a variety of 45 film holders and Polaroid film backs and has it’s own serial number.

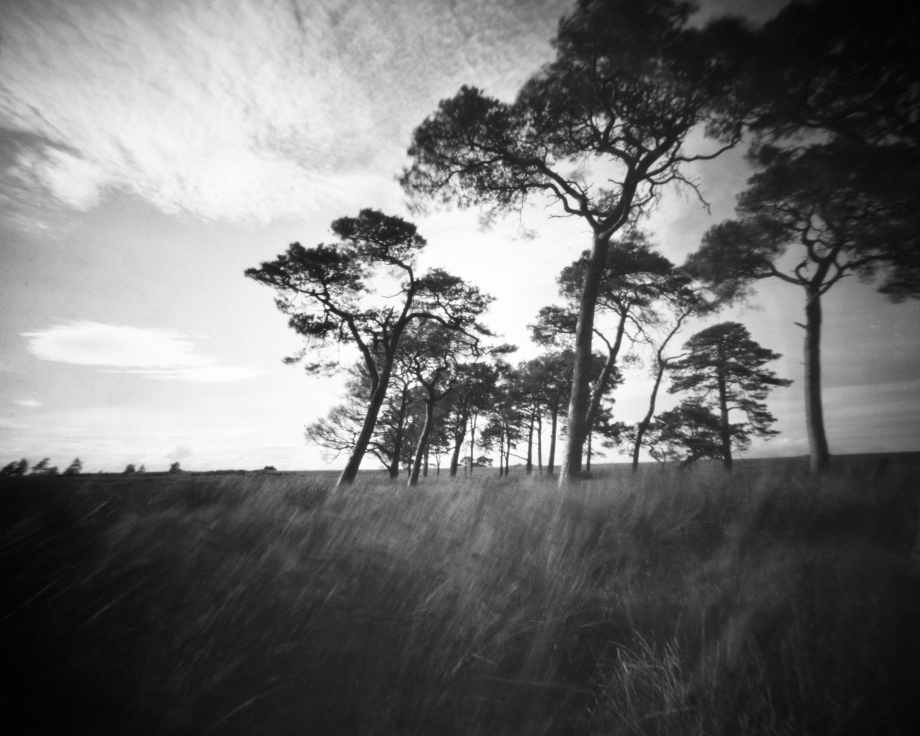
The 45 image here was made on my second outing with the camera. The camera is nice and sturdy and once attached to the heavy tripod doesn’t move when the dark slides are being used or changed over. I really like the fact that you can add different film backs, even my Horesman 6×9 looks as though it will fit.

My intention now is to work away on this LF series which will be printed in my darkroom. I’ll be posting the results here and on my website www.michaelprincephotography.co.uk over the coming months.

Kippen Muir pinhole_rev01_


Speyside Croft

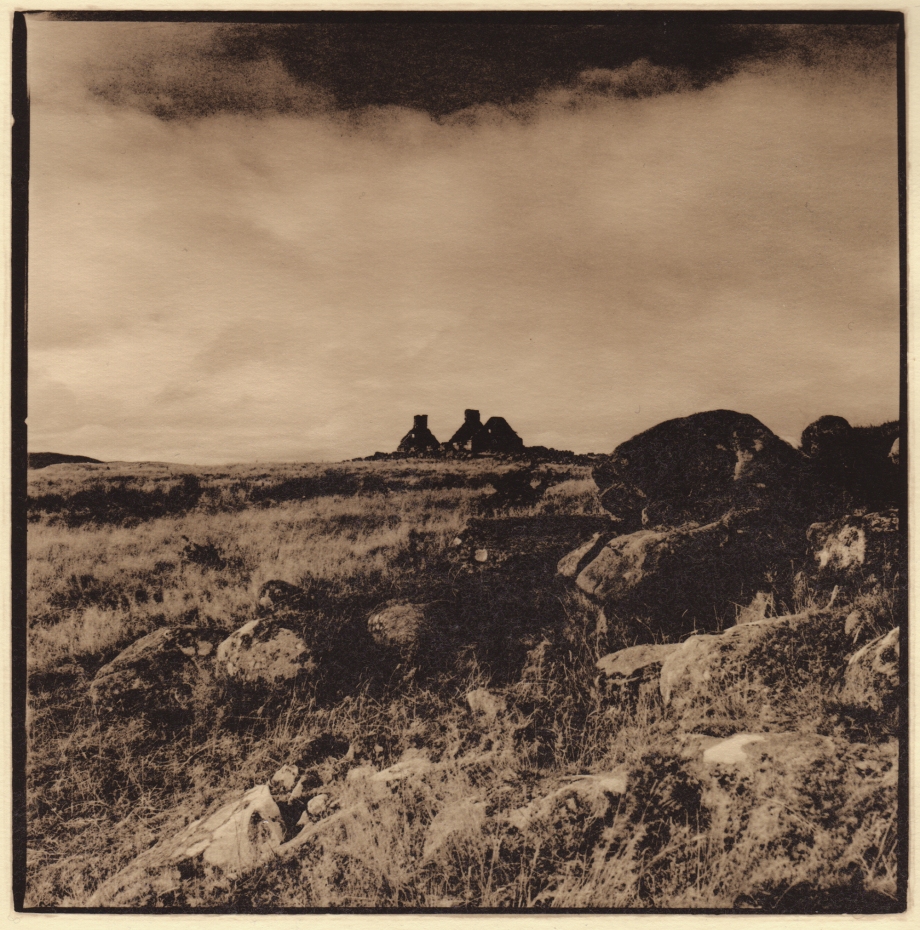
speyside-croft-october-2016

I first photographed this Speyside moorland croft in 2011. On my first visit it was mid October and with bright and changeable conditions. Almost five years later to the very day and it was practically identical weather. The moorland area is vast and given over to grouse shooting. There are gated Landrover tracks that lead you up into the hills where numerous abandoned crofts and out buildings can be seen. I hiked up to a position that I’d previously looked at and began shooting almost immediately, as the early morning light was exactly what I wanted. I spent a very contented couple of hours with my camera, exploring the area, enjoying the solitude and thinking about photography.

The image was made using my Hasselblad and the 80mm lens. The film was Ilford FP4 with a deep red filter. In the darkroom the print was developed in Fotospeed LD20.

Adventures in Lith

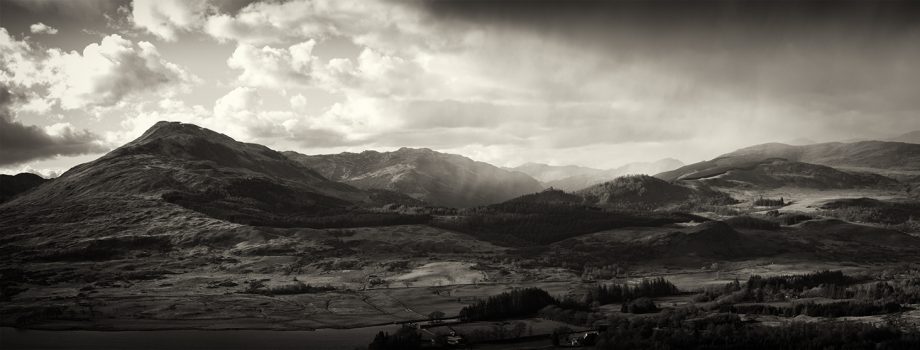
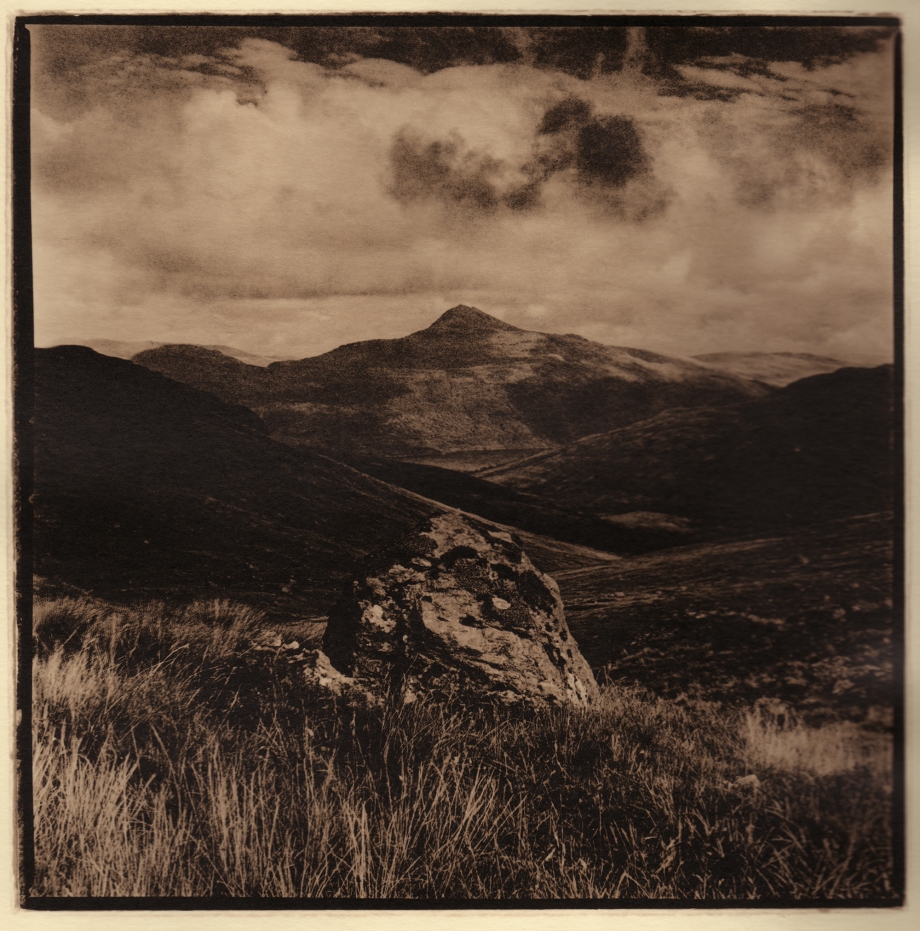
towards-ben-lomond_lith-print_

Towards Ben Lomond, Lith print, September 2016. Hasselblad 503cx, 80mm, Ilford HP5, Fotospeed LD20

The last week has been spent mainly researching and printing using Lith chemicals and paper. When experimenting with a new or unfamiliar technique some investigation into best / preferred working methods is required. In the absence of a master printer some hours of internet searches were required and yielded useful information which eventually brought me to what I thought was a good initial understanding. With the right lithable paper and recommended chemicals purchased I attempted my first Lith printing session. I’m happy to admit that this was an unmitigated disaster with very poor and confusing results. The test strips looked fairly promising but by the time I had taken the plunge and began to make a print it became very obvious that all was not well. I was aware that development times would be intentionally long and I really persevered, but wasn’t prepared for the seasons to change as I patiently agitated away and away… Eventually the dev tray presented a demoralising selection of high contrast and mottled sheets of expensive paper. Before I abandoned the darkroom in a mild depression I kept back the exhausted chemical ‘old brown’ in an airtight container, a small amount of which would be added to the fresh developer in the next session. The older chemical helps to speed up the point at which ‘Infectious’ development takes place – apparently.

word-press-enlarger

I knew that I had the right developer Fotospeed LD20 and paper that would accept the lith process, the culprit in the darkroom (apart from me) and the reason for the disappointing earlier results had to be the chemical dilution. Fotospeed dev comes with a printed sheet explaining the process in detail but the recommended dilutions just weren’t providing the results. Fotospeed suggests a dilution of 15ml-Part A to 485ml water and 15ml-Part B to 485ml water to make the working solution – I wasn’t prepared to try such a weak solution again. After further forum reading, the dev dilution of 1-9 was repeatedly recommended as a good starting point.

I mixed up the fresh dev and added a small amount of the ‘old brown’. The temperature was just over 20 degrees. The first test strips came up a little too quickly but looked really promising – my theory on the weak dilution had been correct. I added a further dilution 500ml of water to the tray and the dev time increased to where it needed to be at around 6 – 7 minutes. The first print was fairly straight but simply needed longer in the dev, and by the second print I held on for the infamous ‘Infectious’ development to really take hold and then snatch the print. By the fourth print I had stopped the aperture down one stop and dramatically doubled the exposure time. The new dilution certainly had the effect that I had been hoping for with deep blacks and plenty of detail in the highlights. The Foma ‘Chamois’ paper gives an attractive creamy finish, and I see no need for additional toning, although this is still an area of processing to be explored.

The whole process of Lith printing is an exciting and real darkroom challenge, as you have to throw out your conventional printing rules. No two prints are alike and the technique is a variable one of experimentation, and ‘feel’, working with the chemical, temperature and exposure times to control the print. Blacks development, highlights exposure. I think I’ve got it now. I’m also keeping darkroom notes per print so if you would like any information on the dilutions and test strip exposures that I worked with please just message me. I shall be posting more lith prints here soon.


The Beginnings Of A Darkroom


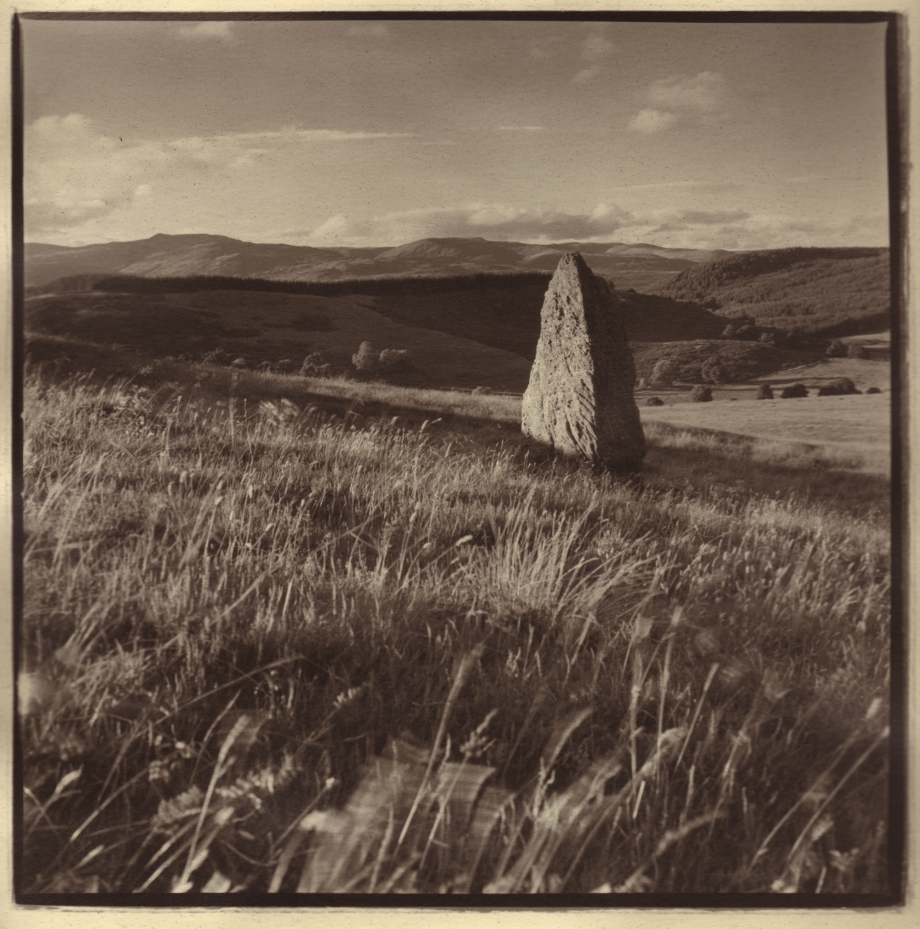
Standing stone print test

Standing Stone, Perthshire, July 2016. Hasselblad 503cx, 80mm, Ilford HP5, Red filter.

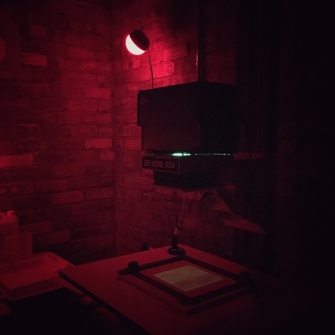
In the autumn of 2015 a good friend and like-minded photographer came to stay with me for a few days. It wasn’t long before a subject that we’d discussed on many occasions began to become a reality. Driven on by Ronnie’s enthusiasm for making something from nothing, the double garage was very quickly being emptied of most of its contents, including piles of firewood and being re arranged. The De Vere 504 enlarger (bought some 10 years previously in London and which had been languishing under a dust sheet) was being positioned alongside an old chest of drawers, the perfect surface for the developing trays. Over time I had already collected the usual selection of second hand Paterson darkroom equipment so there appeared to be no real initial set up costs.

With the potential darkroom equipment and ‘furniture’ roughly positioned a chance find on ebay revealed a De Vere 203 for sale a couple of miles away in Killearn. To be honest, a second enlarger at this point in time was not on my to do list, but – it was going begging and with no expensive delivery costs it made sense to investigate. Having contacted the seller we jumped in the car and went to view the enlarger. The owner had been a professional newspaper photographer and was clearing out his beloved equipment, no longer willing to put up with the chemicals in the era of digital. With a very reasonable price agreed plus a few trays thrown in we installed the second enlarger into the new space. An old plastic ground sheet was used to seal off the printing area and with the garage door shut the now two-enlarger ‘darkroom’ was essentially ready to be used.

During the winter of 2015 I made a couple of prints for clients and had them framed by Egg & Dart in Glasgow. This was incredibly satisfying and made me realise just what could be achieved with a basic darkroom set up. I have been shooting film for decades but rarely printed my work, always using high-end digital scanners to produce the final image. Returning to the darkroom has opened up a whole new sphere of possibilities giving new impetus to my landscape work, including the opportunity to experiment with alternative printing and processing. I’ve already begun to increase the amount of bw film that I am shooting using my various medium and large format cameras – a good thing as it’s often too tempting to just grab the digital and feel guilty for a while. More about my old film cameras in future posts.
IMG_2710

July 2016 and a certain Ronnie friend came to stay again. This time I found myself on the Jewson website ordering 5 x sheets of wooden OSB3 board to be used to make the walls of a light tight darkroom. Next, the following two days are spent re learning long forgotten DIY ‘skills’ in conjunction with consuming quite a few almond Magnum ice creams, the space was just about complete, with only some new electric sockets and an inexpensive extractor fan to be fitted at some point TBC.

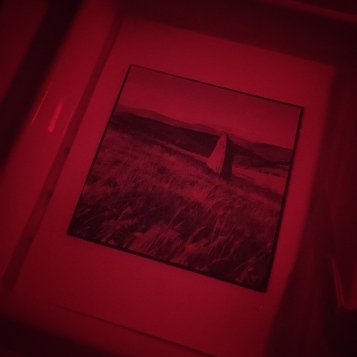
The darkroom really is surprisingly dark and feels right, and for the money I think is looking really good. Obviously the acid test will be working in the space, especially during the cold winter months. It’s still only a halfway house to something more substantial but having been created for very little cost it’s a humble beginning to hopefully some very exciting future possibilities. Last night, and with solid walls, I made my first print. The Hasselblad image was taken during a walk in the Perthshire hills with Ronnie Randall, as we discussed the ideas for the new darkroom.